
How to Install Wall Panels for a Professional-Looking Finish
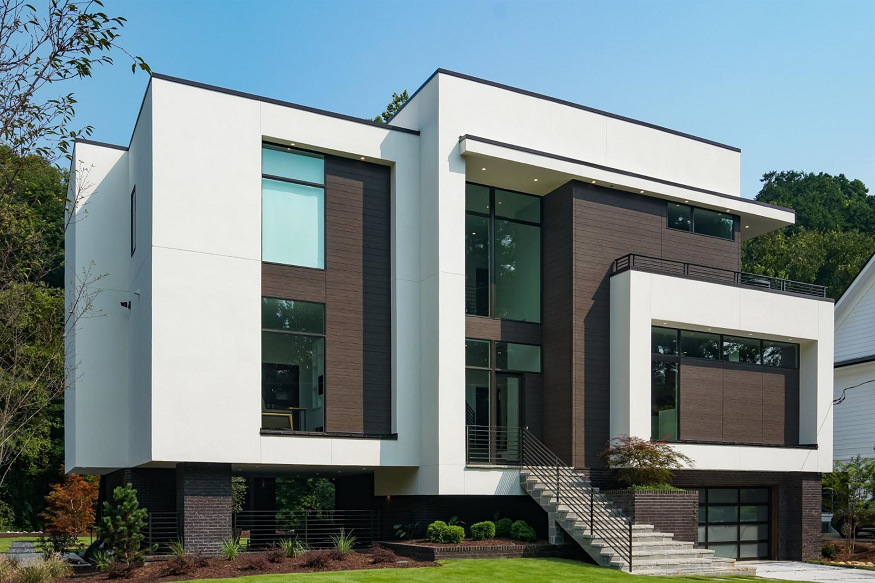
Installing wall panels elevates room aesthetics, hides surface imperfections, and adds instant character to any interior space. It takes careful planning, precise measurement, and the use of the appropriate fastening methods to achieve a perfect, carpenter-grade installation. Uneven seams, obvious gaps, and sagging panels result from hurried layout planning or neglecting wall leveling. Following a systematic installation process guarantees a seamless, durable transformation that looks like a high-end custom renovation. When specifying durable cladding for modern commercial designs, architects often turn to Nichiha Architectural Wall Panels and Exterior Wall Panels to achieve both striking aesthetic appeal and superior weather resistance.
Preparing Walls and Acclimating Materials
A flawless paneling job relies heavily on surface preparation and wood stabilization before drive-in fastening begins. Installing panels over bowing drywall, peeling paint, or damp surfaces creates structural instability that eventually pushes the panels away from the wall studding. Cleaning the walls, patching deep gouges, and scraping off loose material establishes a flat, solid substrate for adhesive bonding.
Read More: The Best Roofing Materials for Midwest Weather: A Homeowner’s Guide
Acclimating your panel materials inside the installation room for at least forty-eight hours prevents warping, buckling, or shrinking after mounting. Wood and composite products expand and contract in response to local humidity and temperature shifts. Unpacking the panels and laying them flat allows them to adjust to ambient room conditions, keeping board joints tight and stable long after installation.
Measuring, Planning Layouts, and Establishing Level Lines
Snapping a true level reference line around the room perimeter prevents sloped panels and awkward corner cuts. Walls, floors, and ceilings are rarely perfectly square, meaning you should never align the bottom edge of a panel directly against a floorboard or base molding. Using a laser level or a six-foot spirit level establishes a plumb starting line that keeps every subsequent panel perfectly vertical.
Planning your layout across the entire wall prevents ending up with a sliver of a panel at a visible corner. Measure the total length of the wall and divide it by the width of a single panel to calculate your final corner dimensions. Dry-fitting your first few sheets or boards allows you to adjust spacing and mark cutouts for electrical outlets, light switches, and wall vents accurately before applying adhesive.
Applying Construction Adhesive and Mechanical Fasteners
Combining heavy-duty construction adhesive with pneumatic finish nails creates a permanent bond that prevents panel flex and squeaking. Applying a continuous zig-zag bead of adhesive across the back of the panel or directly onto wall studs provides immediate grab strength. Keeping the glue bead an inch away from the outer board edges prevents excess adhesive from squeezing out through panel seams during press-fit placement.
Securing panels with brad nails or finish nails holds the material firmly against the wall while the construction adhesive cures. Drive nails at a slight angle through the tongue or groove edges when installing tongue-and-groove boards to keep fastener heads completely hidden from view. For flat panel sheets, place finish nails into existing wall studs and countersink the heads slightly below the surface for easy putty filling later.
Precision Cutting and Trim Integration
Executing clean cuts around room features and installing matching trim elevates a basic installation into a polished architectural feature. Utilizing a fine-tooth saw blade minimizes wood splintering along delicate veneer and laminate surfaces when cutting panels to size. Measuring twice and cutting from the back side of pre-finished panels protects the decorative face from blade scoring and scuff marks.
Integrating baseboards, crown molding, and corner trim covers expansion gaps left around the perimeter of the room. Wood panels require a small expansion space at the floor and ceiling lines to accommodate natural seasonal movement. Installing top cap rails and baseboard trim masks these functional gaps completely, giving the entire wall a continuous, tailored look.
Final Touches for a Seamless Appearance
The difference between an amateur DIY effort and a professional feature wall lies in the final sanding, caulking, and finishing details. Filling countersunk nail holes with color-matched wood putty or sandable filler hides mechanical fasteners entirely. Applying a thin bead of paintable acrylic caulk along inside corners and trim joints eliminates dark shadow lines, creating a unified surface ready for primer or stain.
Read More: Common Mistakes People Make After Buying An Air Purifier
Installing wall panels is an approachable, high-impact project that dramatically enhances the character, texture, and visual interest of your interior spaces. Taking time to acclimate materials, map out plumb guidelines, and secure panels with combined adhesive and hidden fasteners guarantees a long-lasting, sturdy installation. Completing the project with crisp trim cuts, filled nail holes, and clean caulking lines delivers a refined finish that adds lasting value and style to your home.

Why You Should Be Wary of Overloading and How the Jackery Solar Generator 2000 Plus Can Help

Adler Schlüssel Weil der Stadt: Your Trusted Locksmith Service
The Benefits of Adding a Second Story to Your Home
About Author
