
How to Make a Wooden Planter Box
If you have always wanted to grow a variety of plants but just don’t have the space, you could consider using a planter box. And if you are good with your hands and a saw, you could even make the planter box yourself. Here’s how:
Consider the Size
You need to decide on the size of the planter box. This will usually be determined by where you are planning to put the box, such as on a patio or a balcony. You will then need to think about how many plants you want in the box.
Gather Your Materials
You need to buy a suitable type of wood for the box. There is plenty of choice when it comes to wood, with redwood and cedar being naturally resistant to rot, which makes them ideal. If the wood you buy has been treated, it is best to line the planter box with landscape fabric to prevent any toxins from seeping into the soil.
You will also need to have a good saw to cut the wood. You could use a hand saw, but the experts at Devour Tools recommend using a metal cutting blade in a power saw for easy, precision cutting. Other materials needed to complete the job include:
- gravel board for the base
- power drill with drill bits
- screwdriver
- screws
- tape measure
- combination square
- pencil
Cut Your Wood
Once you have determined the size of the box, you will need to cut the wood to size. For example, if you are planning to build a 3 x 3 ft box, you will need to cut all the wood to 3-foot lengths. Measure each piece of wood and cut a clean line with your saw.
Make Your Frame
The next thing to do is to lay out the frame on the ground. Drill some pilot holes into the ends of the wood where they are going to attach to each other. Make sure the angles are correct with a combination square before you screw the wood together. Once the base frame is built, attach gravel board across the bottom. It is okay to have gaps between the boards.
Continue Adding Wood
You can then start building up layers of wood in the same manner, attaching each board to the one below with screws. You can go as high as you like but it is best not to make the box too deep because you will need a lot of soil to fill it. Furthermore, it will be heavy if it is very big.
Finishing Off Your Box
Once the box has been built, you should go around it to sand off any rough edges. This will not only make it look nicer, but it will also ensure that no one gets any splinters if they brush against it when walking past. You can then line the inside of the box with the landscape fabric or old plastic, which can then be fixed to the sides with small nails. If using plastic, make sure to put some small holes at the bottom for drainage.
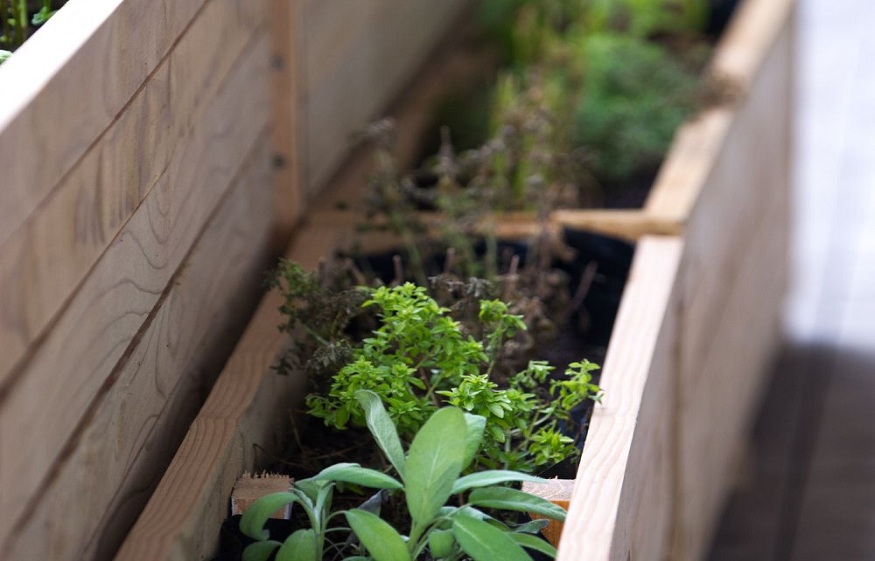
You can then paint the outside of the box with special paint that will protect it from the elements. There are many different shades available, which will allow you to customize it to your liking. Once the paint has dried, you can add a layer of gravel and then fill it with soil before adding the plants of your choice. Some people like to add flowering plants for color, while others will fill their box with a variety of herbs that they can use in their kitchen. Once you’ve made one, you’ll be itching to make another.

Guide 101: Finding the right HOA management company in Scottsdale
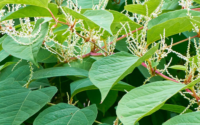
How to Control Japanese Knotweed Growth